The SWMC Wiki is currently under review.
Black Hole Crag
GR 446853
TIDAL STATUS
2½ hours either side of low water.
BOLTING POLICY
No-bolting.
ACCESS
No problems with access. However, I suspect that this crag has been incorrectly named. What the locals and Ordnance Survey know as Blackhole Gut is the narrow zawn known by climbers as, Devil's Cwm some 634 m metres to the west. Further evidence for this is the bone cave known as Upper Blackhole Cave situated at NGR: SS 4422 8560.
Comments please on the Discussion Page.
DESCENTS
Toward the east of the crag, top out and scramble back down the gully at the east end of the crag. Toward the west of the crag, either reverse one of the easy routes, or walk off left and scramble down easy rocks at the west end of the crag.
THE ROUTES
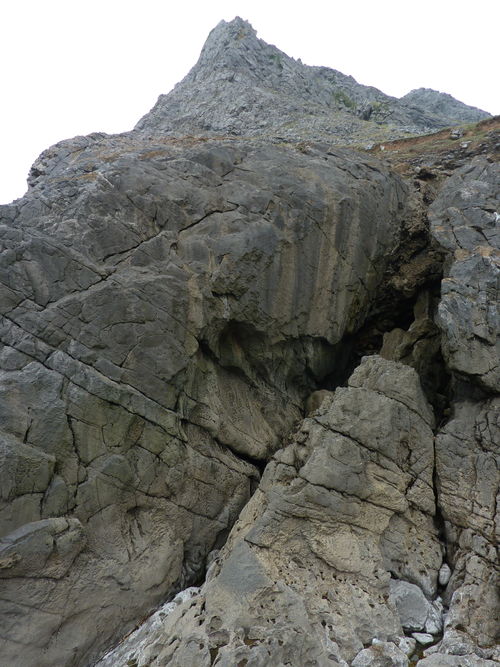
Looking west from Boiler Slab, there is an obvious low rocky promontory running out to sea. Just west of this, at the foot of a large dome-like headland, is a wall 90m long with a large pool at its east end. Approach is down either side of the gully bounding its east side. Due to the direction of approach, the routes are described from right (east) to left (west).
One route is found on the west (right when descending) wall of the descent gully.
1. Water Monster 7m E4,6b
Start about 3m from the right edge of the wall. Climb up until it is possible to clip a PR and sling out to the right, then move left and jump for the top.
The east (right) side of the crag has a large pool at the bottom of a slabby wall, which has a red block overhang above its centre.
2. Right Wall 12m D *
Gain the centre of the slab by traversing in from the left-hand side of the pool. Climb it directly, finishing right of the block overhang.
3. Left Pillar 15m M
At the left side of the pool is a vague rib. Climb this and the slab above to finish up a corner left of the left corner of the block overhang.
4. Rib And Slab 15m D
Climb the groove bounding the rib of Left Pillar on its left. Amble up the slab to join and finish as for Left Pillar.
Just to the left is another pool, with a prominent boulder in it. The next routes must be reached via stepping onto the large boulder and leaning across then traversing in to their starts.
5. Calcutta 12m D
Climb the rib directly behind the boulder on superb sharp blisters.
6. Shallow Corner 12m S,4a
The very shallow corner, 2m left of the boulder, with a capping feature at 3m. Swing round this and finish direct. Good fun.
7. Right Rib 12m S
Climb the corner crack to the left of Shallow Corner, with help from the rib bounding its left end.
8. Overhang Crack 12m S,4a
The chimney groove in the centre of the wall, exiting by the left-hand crack at the blocks.
9. Left Rib 12m S,4a
Climb the rib left of the chimney and finish up the side of the flying fin.
About 100m west (left), after two deep cuts in the terrace at the base of the crag, is another pool below a prominent narrowing cave crack. The major problem is accessing the base of the routes. Traversing in from the left is 5a and probably deserves a deep water solo grade. Climbing up the rib on the right and climbing down and left is easier.
10. Cracked Wall 12m S
Climb the most continuous of the three cracks in the right flanking wall of the cave crack.
11. Deep Cleft 12m D *
The deep cleft. The route of the crag.
12. Left Wall 12m M
Climb the square wall left of Deep Cleft.
1. G.Ashmore 29.08.2002
2. J.Talbot 00.00.1963
3. J.Talbot 00.00.1963
4. J.Talbot 00.00.1963
5. G.Ashmore 20.01.2001
6. J.Talbot 00.00.1963
7. J.Talbot 00.00.1963
8. J.Talot 00.00.1963
9. J.Talbot 00.00.1963
10. J.Talbot, B.Tabot 00.00.1965
11.J.Talbot, B.Talbot 00.00.1965
12.J.Talbot 00.00.1963
